
Why Set Up a Charging Station?
Phones, tablets, headphones, watches, cameras, and other devices can quickly create a tangle of cables around your home. A dedicated charging station gives every device a regular place to charge and makes it easier to find what you need.
A well-planned station can also:
– Reduce cable clutter
– Keep chargers in one location
– Make daily routines faster
– Protect devices from unnecessary wear
– Help family members share charging space
– Prevent chargers from being left on floors or unstable surfaces
You do not need a complicated setup. A small shelf, drawer, or section of a desk can work well when it has reliable power, suitable cables, and simple organization.
Choose the Best Location
Start by choosing a convenient, safe location. The right spot depends on how and when you use your devices.
Common locations include:
– A desk or home office
– A kitchen counter
– A bedside table
– An entryway shelf
– A living room cabinet
– A family command center
Choose a dry, stable surface with access to a wall outlet. Avoid placing the station near sinks, stovetops, heaters, or areas where drinks can easily spill. It is also best to avoid walkways, where cables may become a tripping hazard.
Think about your routine. If you charge your phone overnight, a bedside station may be useful. If several people charge devices after school or work, an entryway or shared shelf may be more practical.
Make a List of the Devices
Before buying accessories, list the devices you plan to charge. This helps you choose the right number and type of ports.
Your list might include:
– Smartphones
– Tablets and e-readers
– Wireless earbuds
– Smartwatches
– Cameras
– Portable game systems
– Bluetooth speakers
– Power banks
Check which connector each device uses. Many newer devices use USB-C, while others may use a different connector. Some devices also require more power than smaller accessories.
It can be helpful to label each cable by device or owner, especially when several cables look alike. A small label near the connector can save time and prevent accidental cable swapping.
Select a Power Solution
There are several ways to provide power for a charging station.
Multiport USB Charger
A multiport charger is a compact option for several phones, tablets, and small accessories. It uses one wall outlet and provides multiple USB ports in a single unit.
When choosing one, consider:
– The number of ports
– USB-A and USB-C compatibility
– The total power output
– Support for the charging standards used by your devices
– Built-in safety features
– Brand reputation and product certification
The total power output matters when several devices charge at the same time. A charger with enough capacity is less likely to charge devices slowly when all ports are in use.
Charging Dock
A charging dock keeps devices upright and organized. Some docks include built-in cables, while others allow you to use your own cables.
Docks are useful for phones and smartwatches because the charging location is easy to see. Choose a design with a stable base and enough space between slots for cases.
Power Strip With USB Ports
A power strip can support larger chargers, laptop adapters, and other equipment. Look for a model with safety features such as overload protection and a suitable power rating.
Do not connect more devices than the power strip is designed to handle. Avoid connecting one power strip to another, as this can increase the risk of overloading the outlet.
Organize the Cables
Cable management is one of the most important parts of a charging station. Even a good charger can look messy if the cables are loose and tangled.
Try these simple solutions:
– Use short cables when possible
– Secure extra length with reusable cable ties
– Add adhesive cable clips to the back or edge of a desk
– Use a cable box to hide excess cords
– Label cables by device
– Keep frequently used cables in front
– Store backup cables in a small container
Leave enough slack for comfortable use. A cable that is stretched tightly can place pressure on the connector or device port.
If you use a charging tray or drawer, add small dividers to create separate spaces. This works well for a family station, where each person can have a designated section.
Check Charging Compatibility
Not every charger works equally well with every device. Before connecting a device, check the charger and cable specifications.
Important details include:
– Connector type
– Supported charging speed
– Required power level
– Cable compatibility
– Whether the charger supports the device manufacturer’s recommended standard
A device will usually draw only the power it needs, but using poor-quality or damaged accessories can cause problems. Choose cables and chargers from reliable manufacturers, and avoid products with unclear specifications.
For laptops and other higher-power devices, use the charger supplied by the manufacturer or a compatible replacement that meets the required specifications.
Add Simple Safety Features
A charging station should be convenient without creating new hazards. Keep these safety practices in mind:
– Use chargers and cables in good condition
– Replace frayed, cracked, or bent cables
– Keep power adapters uncovered so heat can escape
– Do not place chargers under blankets or clothing
– Keep liquids away from the station
– Avoid blocking the wall outlet
– Unplug damaged accessories
– Keep the station away from small children and pets when needed
Do not force a connector into a device. If it does not fit easily, check that you are using the correct cable and orientation.
If the outlet, charger, or cable becomes unusually hot, stop using it and inspect the setup. A little warmth can be normal, but excessive heat, unusual smells, buzzing, or discoloration should not be ignored.
Create a System Everyone Can Follow
A shared charging station works best when everyone knows how to use it. Give each device a regular location and keep the most commonly used cables easy to reach.
You can improve the system by:
– Adding labels to each charging slot
– Assigning sections to different family members
– Keeping spare cables in a labeled container
– Using a small tray for devices that are fully charged
– Setting a weekly reminder to tidy the station
– Removing unused or duplicate chargers
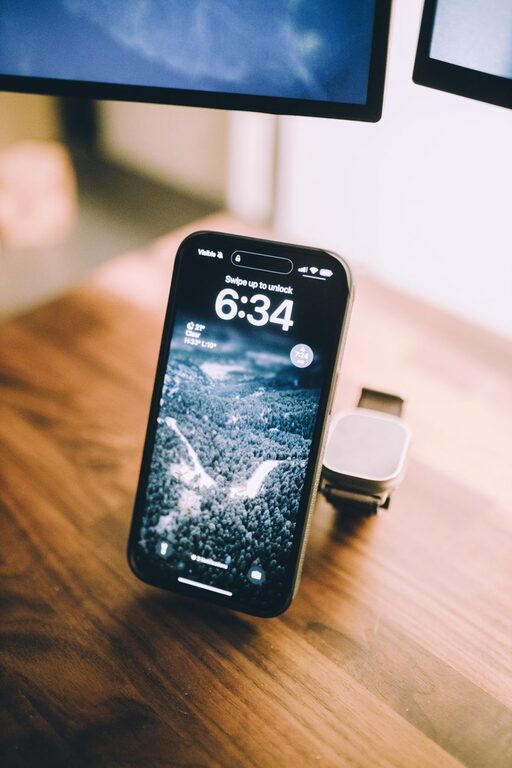
For a desk setup, consider placing the charger toward the back of the desk and routing cables along the edge. For a nightstand, a small dock can keep the phone and watch in one place without crowding the surface.
Maintain the Charging Station
A few minutes of regular maintenance can keep the station working well. Once a month, inspect the cables, chargers, and power strip for damage. Wipe dust from the surface and check that vents are not blocked.
Remove cables that no longer match any device. Store rarely used accessories separately so the main station stays simple.
It is also useful to review your setup when you buy a new device. You may need an additional cable, a different connector, or a charger with more power. Updating the station as your needs change prevents clutter from building up again.
Final Thoughts
A charging station does not have to be expensive or complicated. Start with a suitable location, a reliable power source, compatible cables, and a simple way to manage extra cord length. Add labels and storage as needed.
With a little planning, you can create a safe, organized place where devices are easy to charge and ready when you need them.